In the first blog, we covered when it’s time for shingle replacement, the warning signs, and why it matters. In this post, we’ll dig into how the replacement happens, how to choose the right shingle type, and what to expect during the project. If you’re still thinking “is it time to replace?”, consider revisiting that post. Otherwise, read on to prepare for the transformation.
The Step-by-Step Shingle Replacement Process
A high-quality shingle replacement involves a clear sequence. Here’s a breakdown:
1. Inspection and Planning
- Roof evaluation: check existing shingles, flashing, underlayment, and decking.
- Scope determination: identify all damaged zones, quantify materials needed.
- Client review: share findings, material options, cost breakdown, timeline.
2. Safety & Protection Setup
- Protect landscaping, walkways, gutters with drop cloths or tarps.
- Erect scaffolding or ladders, set up fall protection harnesses.
- Mark off work zones for safety.
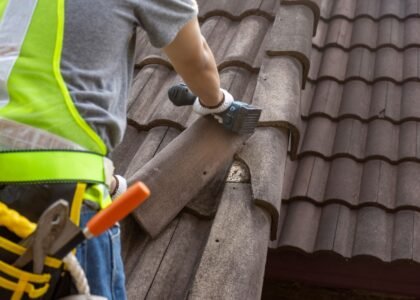
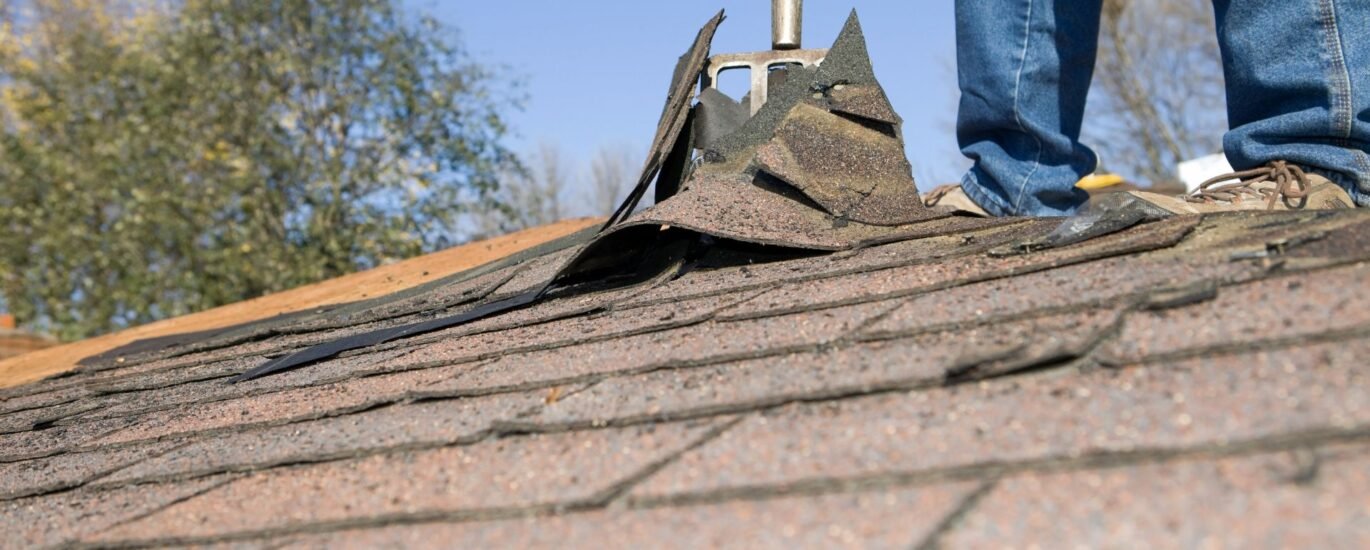
3. Old Shingle Removal
- Strip all old shingles, underlayment, and damaged flashing.
- Dispose responsibly, recycling where possible.
- Ensure the roof surface is clean and clear of nails, debris.
4. Decking Inspection & Repair
- Examine the roof deck (plywood or OSB) for rot, warping, damage.
- Replace or repair compromised boards.
- Ensure the surface is flat, solid, and ready for new installation.
5. Underlayment Installation
- Roll out moisture barrier (synthetic or asphalt-saturated felt) over deck.
- Install ice-and-water shield in critical zones (e.g. eaves, valleys).
- Ensure proper overlap and seal around penetrations.
6. Flashing & Vent Preparation
- Install or replace flashing around chimneys, skylights, vents, and other protrusions.
- Confirm attic ventilation is optimized (ridge vents, soffit vents, etc.).
- Proper flashing prevents water intrusion at vulnerable junctions.
7. New Shingle Installation
- Lay shingles per manufacturer specs: align, overlap, nail pattern, starter courses.
- Work methodically down slopes, ensuring each shingle interlocks properly.
- Address ridgelines and hips with appropriate cap shingles or ridge vents.
8. Finishing Touches & Cleanup
- Nail down and seal ridge/hip pieces.
- Inspect all flashing, trim, and roof edges.
- Sweep and metal-detect the yard to pick up stray nails.
- Remove protective tarps and dispose of residual materials responsibly.
Throughout, the goal is careful execution, attention to detail, and minimal disruption to you and your property.
Choosing the Right Shingle Material
Material choice is pivotal. Each type has trade-offs, cost implications, and performance profiles—especially under local weather conditions. Below are common options:
Asphalt Shingles
- Pros: affordable, many color/style options, widely available.
- Cons: moderate durability, can suffer in extreme weather.
- Ideal for typical residential homes in moderate climates.
Architectural (Dimensional / Laminated) Shingles
- Pros: thicker, more durable, aesthetic appeal, better wind resistance.
- Cons: higher material cost, heavier load.
- A solid all-around choice when you want extra longevity and visual upgrade.
Synthetic / Composite Shingles
- Pros: mimic slate or shake, lightweight, durable, sometimes fire-resistant.
- Cons: premium price, some brands less proven in severe climates.
- Good alternative if you want a distinctive look but demand performance.
Wood Shakes or Shingles
- Pros: natural beauty, rustic aesthetic.
- Cons: requires maintenance (moss, rot), not ideal in very wet or fire-prone zones.
- May work well in dryer climates or where traditional style is desired.
Metal Roofing (shingles or panels)
- Pros: excellent durability, energy efficiency, low maintenance.
- Cons: higher up-front cost, may require additional framing or fasteners.
- Sometimes considered in “shingle replacement” projects when homeowners want a roof upgrade.
When selecting, consider:
- Local climate demands (rain, wind, snow).
- Weight your roof structure can safely support.
- Cost vs. lifespan tradeoff.
- Aesthetic compatibility with the rest of your home.
- Material warranties (if applicable).
A professional installer can help you weigh options and pick what aligns best with your house and environment.
What to Expect During the Replacement Project
Knowing how the project proceeds helps reduce your stress as a homeowner:
Timeline & Duration
- A typical house might take 1 to 3 days, depending on roof size, damage extent, and weather.
- Larger or more complex roofs may stretch to a week or more.
Daily Workflow
- Crew often starts early, removing old material and preparing the deck.
- Mid-day: installing underlayment, flashing, and beginning new shingle placement.
- Late day: finishing edges, ridges, and cleaning the site.
Disruption & Precautions
- Noise from nail guns and material handling is normal.
- Expect some foot traffic on the roof above.
- You may want to move vehicles, outdoor furniture, and fragile items.
- Close attic access, windows near rooflines, or vents if debris might blow in.
Communication
- A good contractor keeps you informed daily: what was done, and what’s next.
- Ask about weather contingency, cleanup routines, and material staging.
Maintaining Your New Roof & When to Revisit Replacement
A new roof still needs care to maximize its lifespan:
- Perform inspections twice a year, especially after storms.
- Remove leaves, branches, and debris that accumulate.
- Ensure gutters and downspouts are clear, so water doesn’t back up under shingles.
- Keep nearby trees trimmed to minimize shade, moss growth, and limb damage.
- Promptly repair any broken shingles, cracked flashing, or minor leaks.
Most well-installed shingle roofs last 20–30 years (or more, with premium materials). When signs of aging creep in again, that’s your cue for the cycle to repeat (as in our first blog).
If you’re ready to move forward, see the detailed description of our Shingle Replacement services here:
Shingle Replacement
And when you’re ready to talk timing, materials, or logistics, feel free to reach out via our contact link:
Contact Us
We look forward to helping you protect your home with a strong, durable new roof.